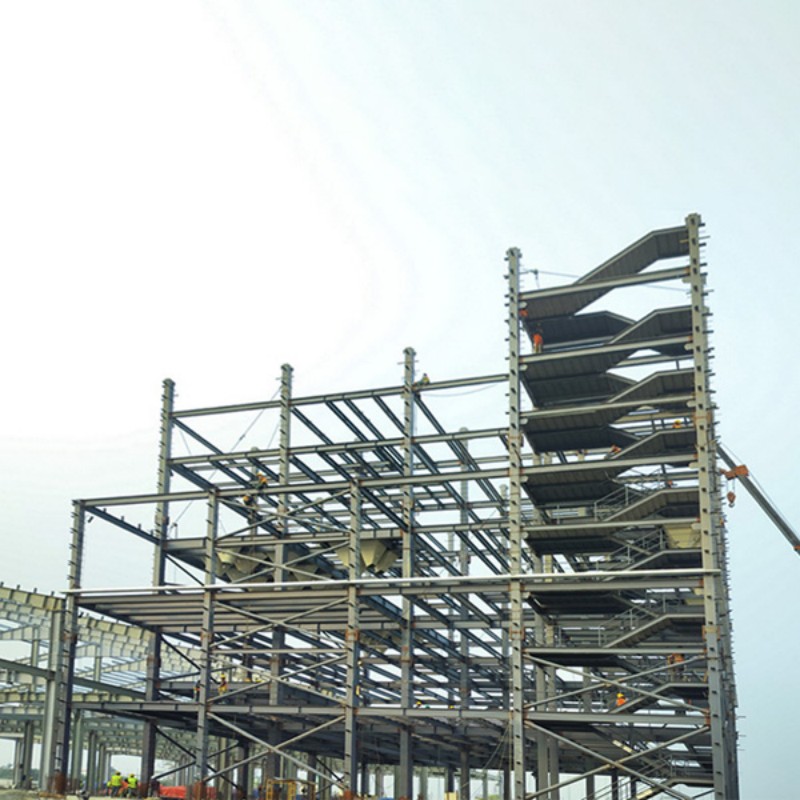
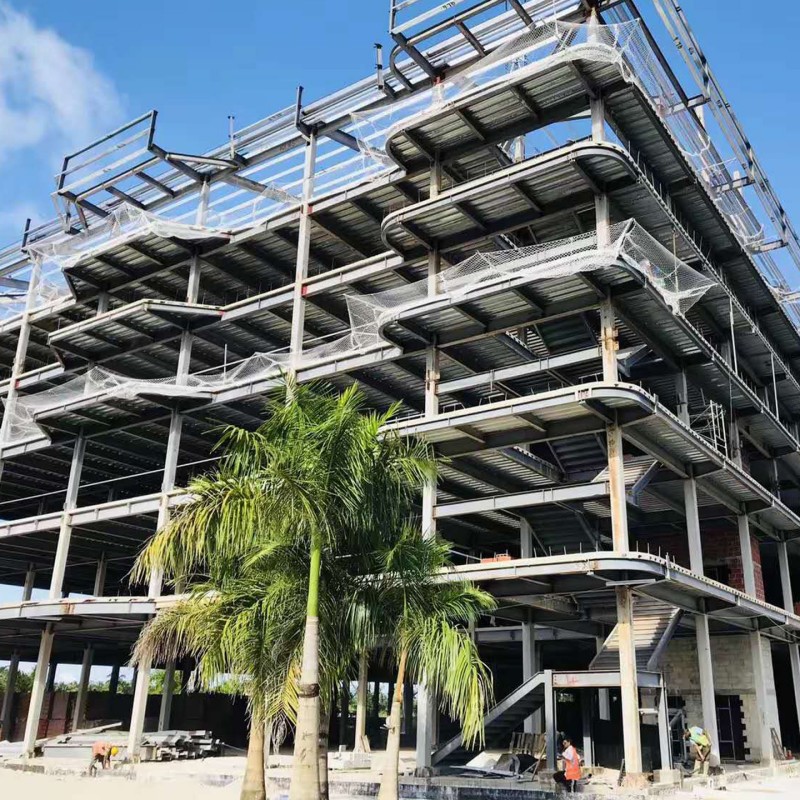
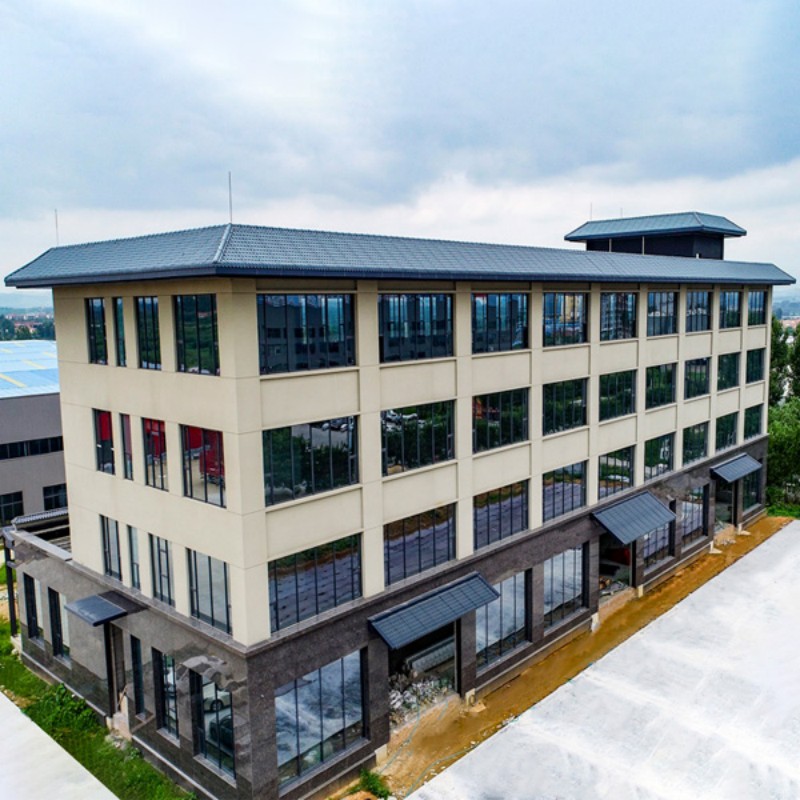
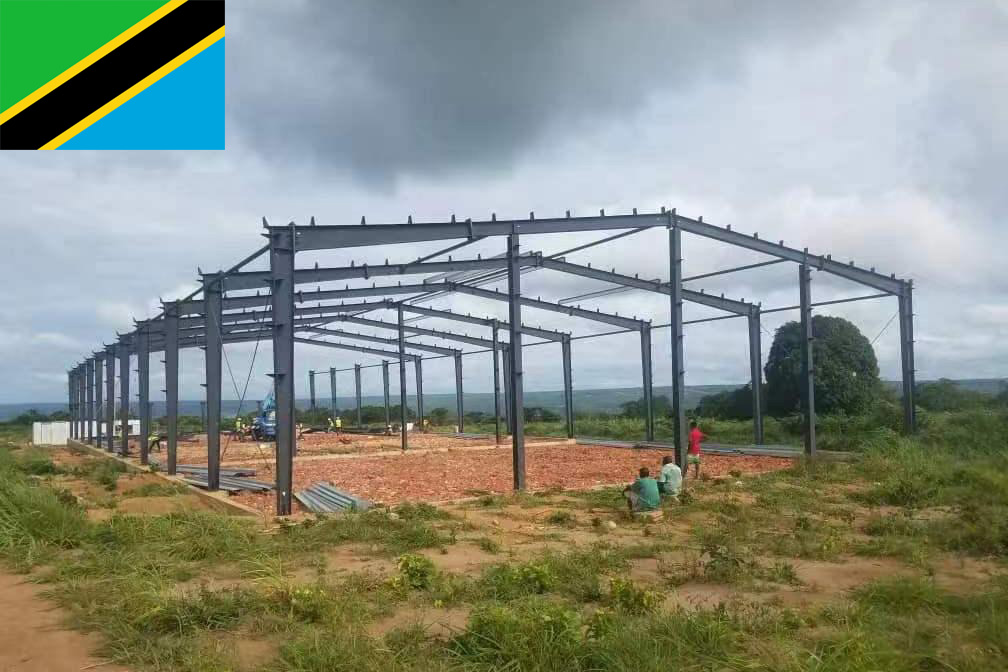
The portal frame is a structure made of steel columns and beams. It can be a single frame or part of a larger structure. It is strong, easy to make, quick to install, and allows for factory production, which saves time. Portal frames are used a lot in factories, shops, and public buildings like sports centers. They make good use of materials, providing safety and saving costs at the same time.
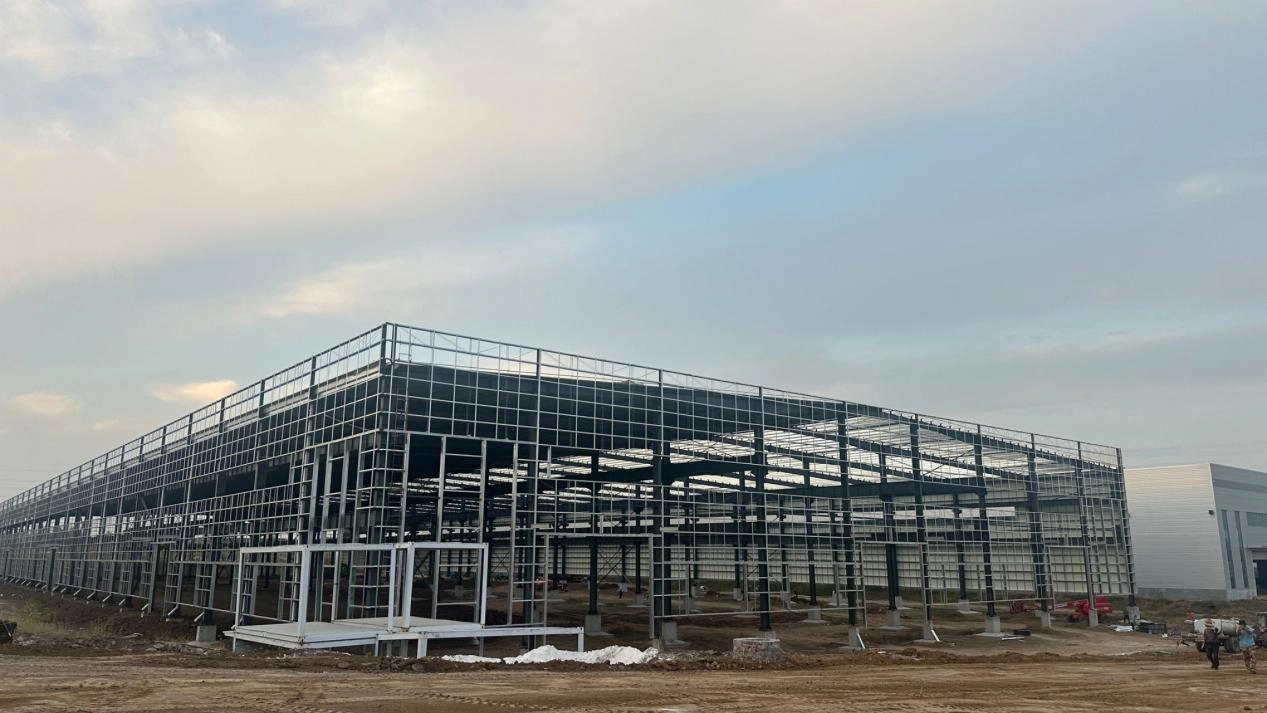
Basic steps for building a single-story portal frame
- Set anchors
- Install steel columns
- Install steel beam
- Add support
- Add extra parts
- Install wall panels
- Install roof panels
- Finish edges
Key Steps for Anchor Bolt Embedding
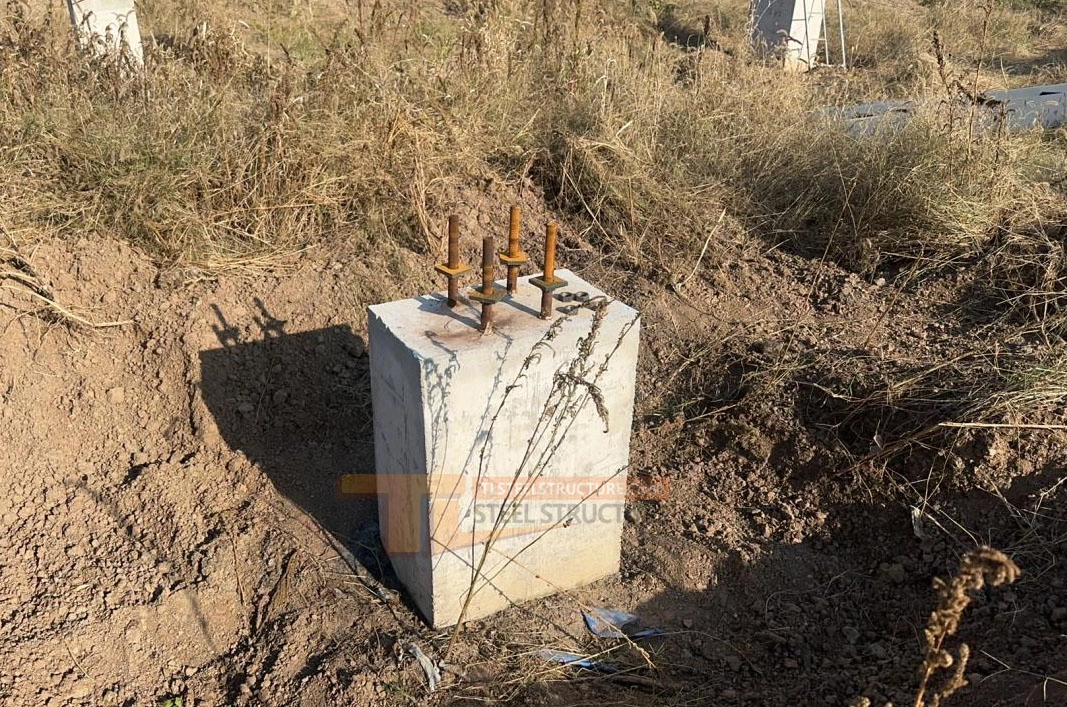
1. Preparation: Review the design plan carefully and ensure the correct position and height. Prepare tools like drill templates and positioning plates.
2. Making the Anchors: Make the anchor bolts to match the design, so they fit well with the rebar and template.
3. Positioning Anchors: After tying the rebar, position the anchors based on measurements. For direct-embedded bolts, set and fix them before pouring concrete. For post-installed bolts, leave holes during the pour, then insert the bolts after the concrete sets and pour again.
4. Securing Anchors: After positioning, secure the anchors with welded frames or rings to prevent movement during concrete pouring.
5. Concrete Pouring: Avoid hitting the anchors and protect the threads to prevent damage.
6. Inspection and Approval: Check the anchor position and height after installation. Start the next steps only when approved.
7. Adjusting Errors: If there is any misalignment, adjust the bolt position or add plates to ensure stability and accuracy.
Steps for Steel Column Lifting
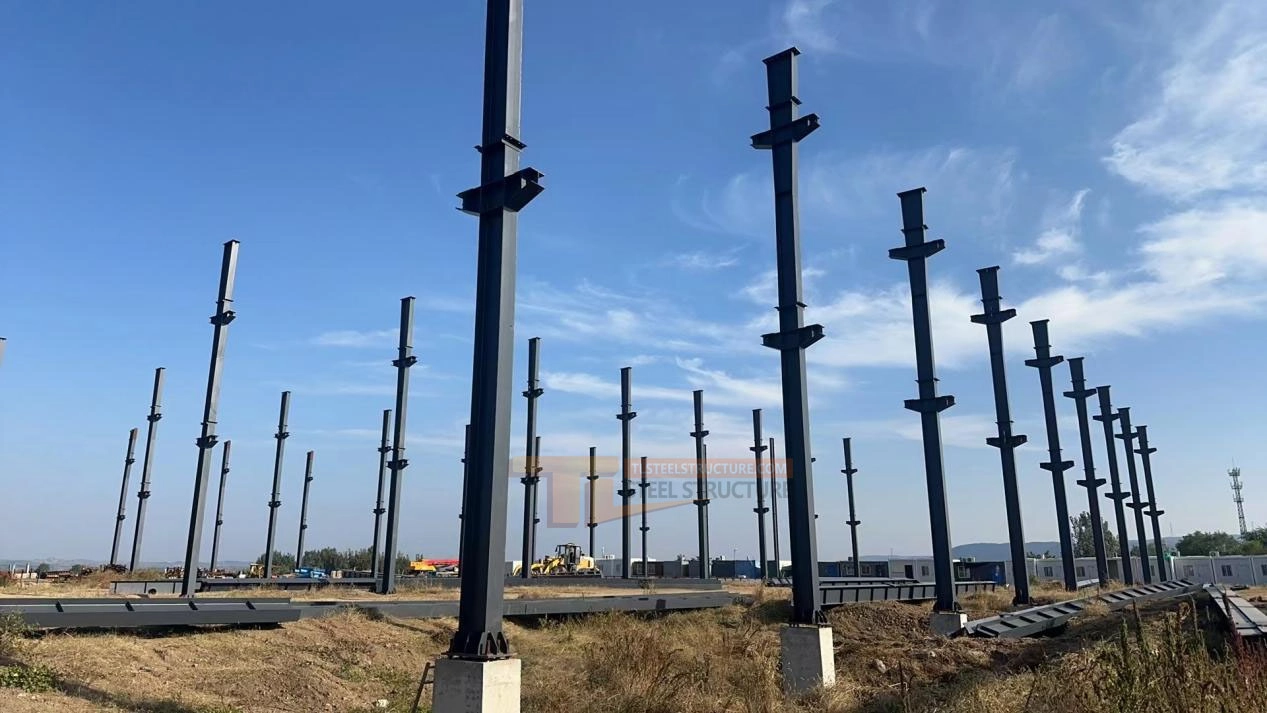
1. Preparation: Place the steel column on wood blocks and avoid dragging it during lifting.
2. Lifting: Lift, turn, and move the column slowly. Lower it carefully to protect the bolt threads.
3. Alignment: Check the position, height, and straightness to meet standards. Use lines from the ground, not from lower columns.
4. Securing: After positioning, weld the base plate, nuts, and shims to keep the column stable.
Key Points for Crane Beam Lifting
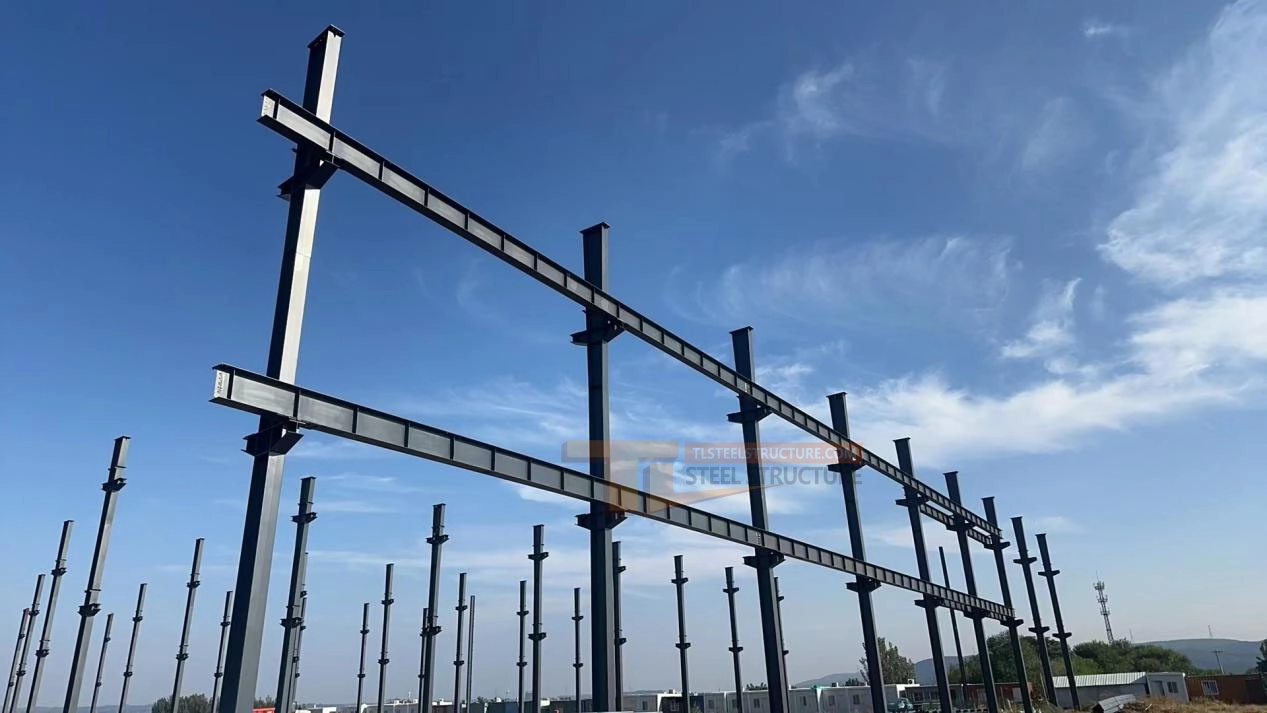
1. Lifting Method: Use two-point horizontal lifting, adjusting as you lift to keep it stable and safe.
2. For Large Beams: For large beams, use multiple cranes or special equipment, like cantilever platforms, to ensure smooth lifting.
Key Points for Roof Beam Lifting
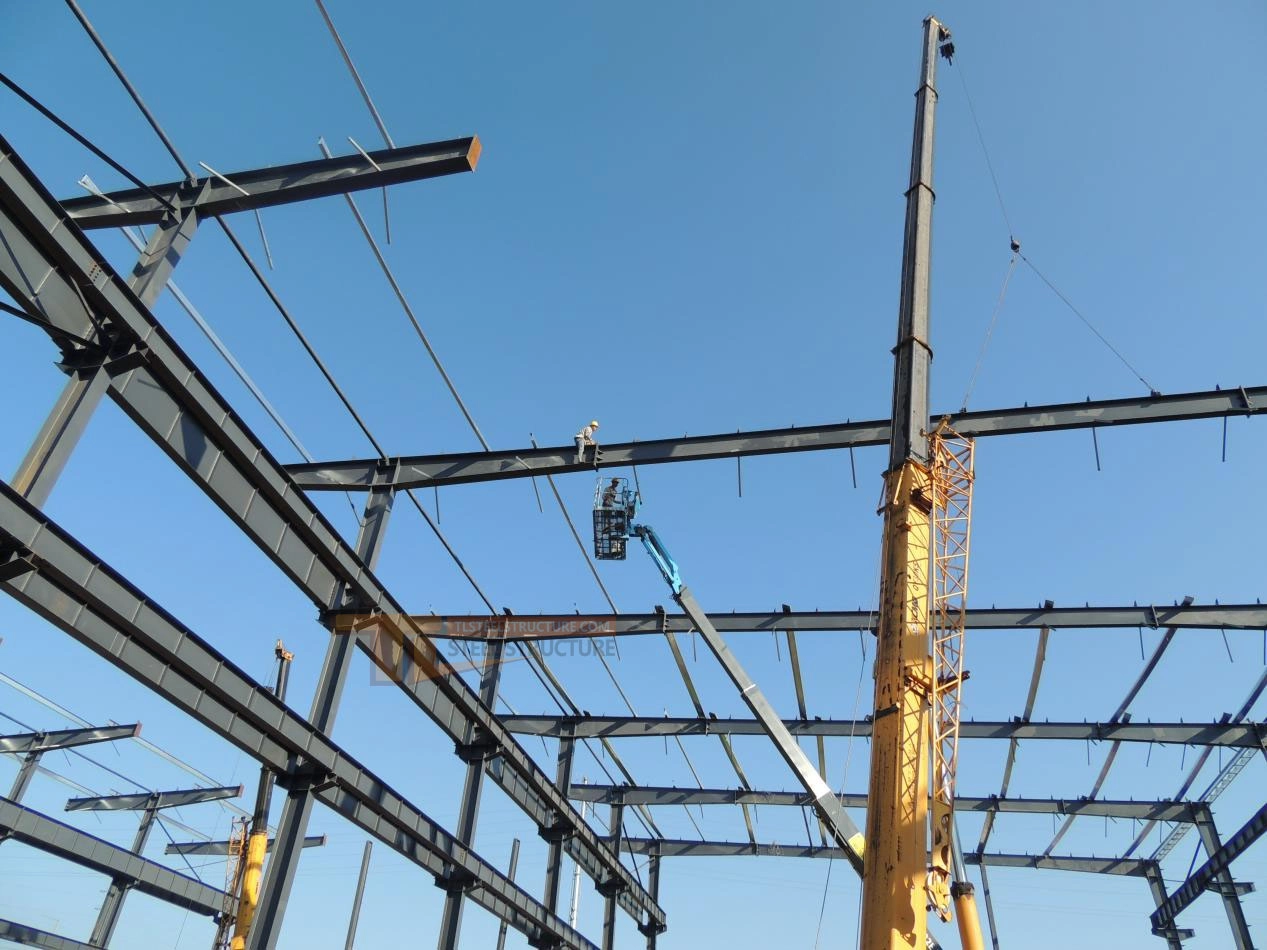
1. Safety and Efficiency: Roof beam lifting requires careful attention to safety and efficiency.
2. Lifting Method: Depending on the beam’s size and weight, use single-crane lifting with two or three points, or use a spreader bar to reduce pressure on the beam. For lighter beams, multi-hook lifting can increase efficiency.
3. Lifting Order: Lift main beams first, then secondary beams; start with lower beams, then higher ones. Begin lifting from one end and secure each beam as it’s lifted to keep the structure stable.
Roof Z-Purlin Connection
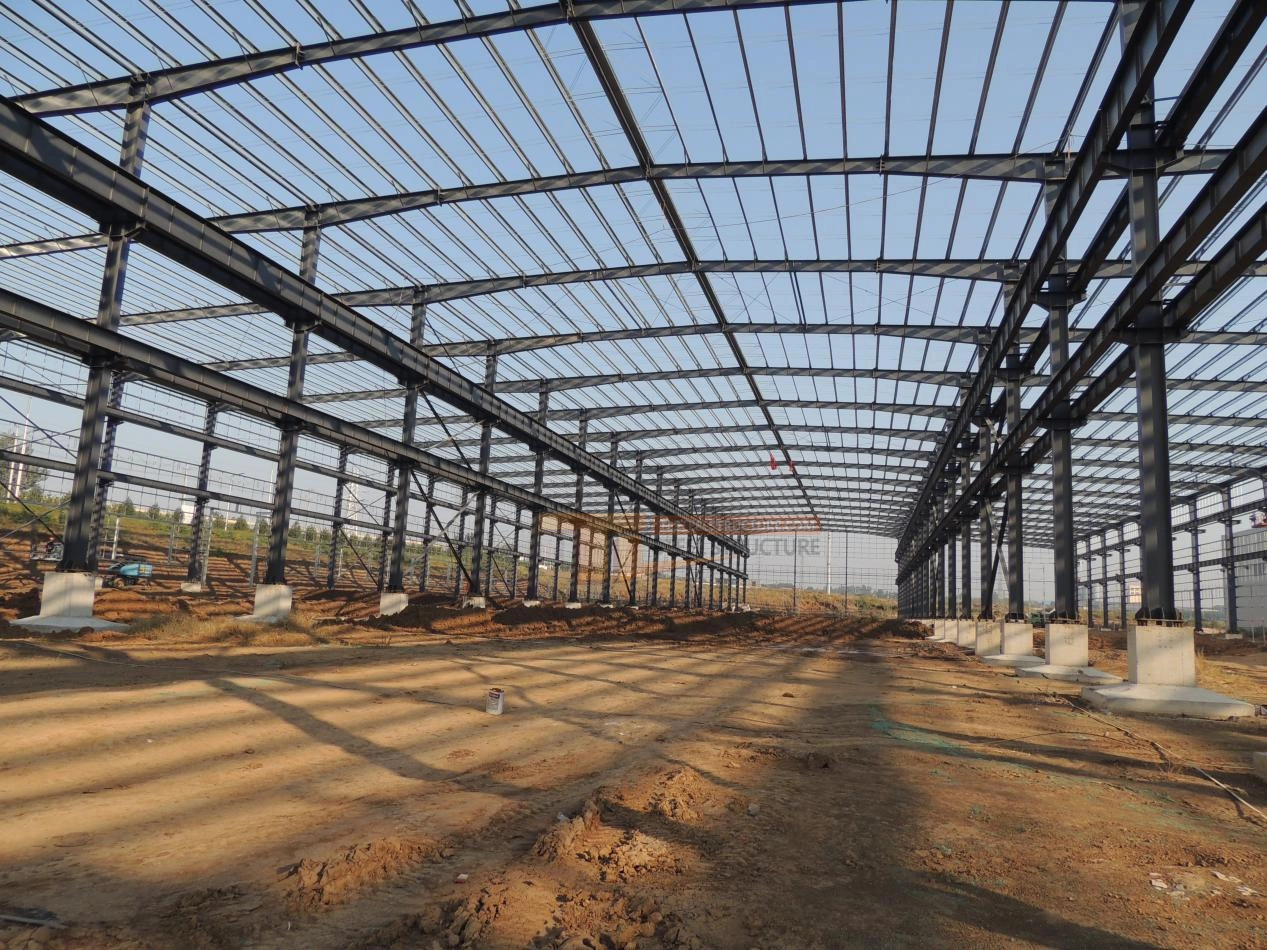
1. Preparation: Ensure the roof structure is stable and can support the load. Gather tools and materials like purlins, connectors, screws, and measuring tools.
2. Marking Positions: Mark exact positions and spacing for the purlins based on the design and site conditions to ensure accuracy and a level roof.
3. Installing Purlins: Make sure each purlin is perpendicular to the roof structure. Use special connectors to secure them, keeping spacing even, and start installing from one end of the roof.
4. Adjusting and Securing: Adjust purlin positions and height to keep them level and consistent. Fix them securely with screws or other connectors.
Wall C-Purlin Connection
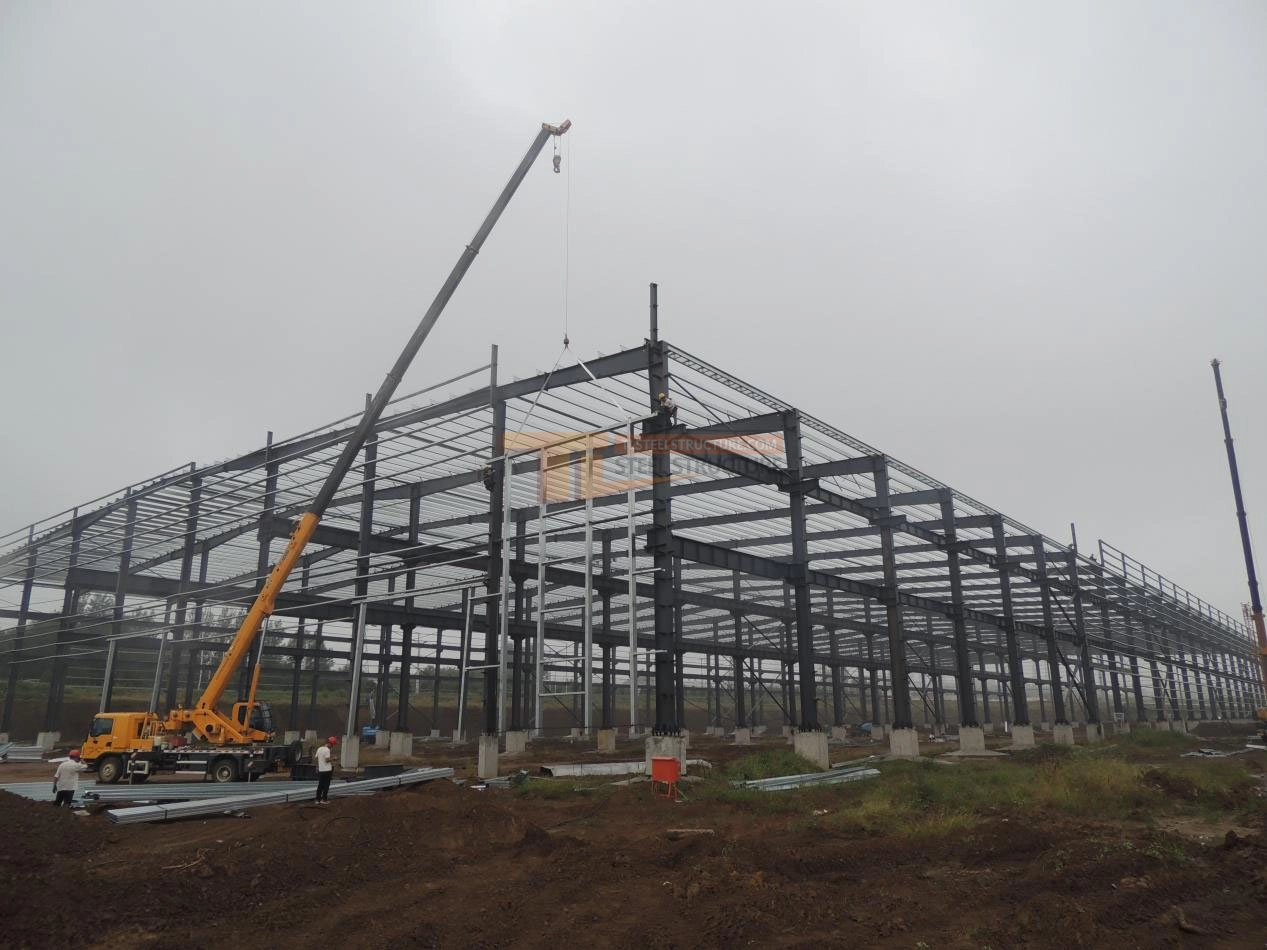
1. Preparation: Check and level the support for each purlin to ensure they are on the same horizontal line. This keeps the wall flat and stable.
2. Marking Support Points: Mark the support points on the wall according to the design to ensure precise installation.
3. Purlin Installation: Use a crane or manual lifting to place each purlin, then secure it to the main structure with bolts or welding.
4. Final Adjustments: Before fully securing, adjust the purlin position to keep it within allowed tolerances.
Wall Panel Installation
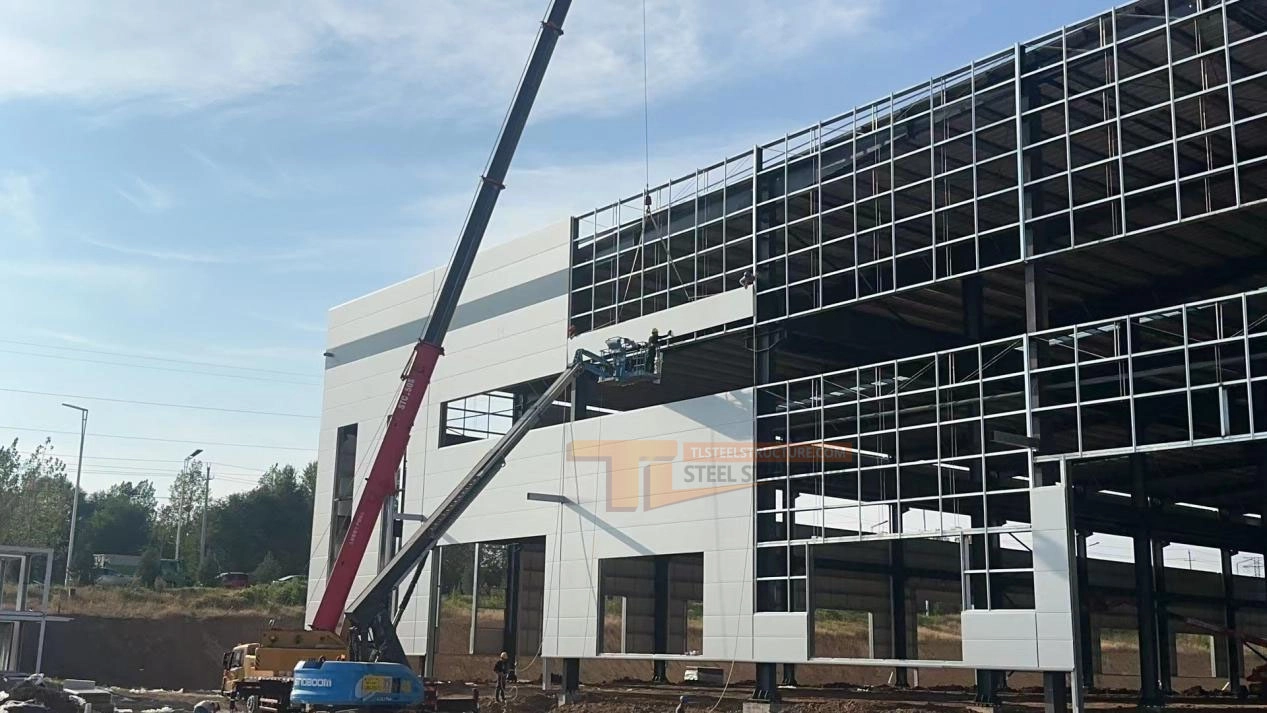
1. Positioning Panels: Place each wall panel according to its assigned number, checking the front and back and aligning with the correct installation direction.
2. Lifting and Aligning: Use lifting equipment to position the panel securely. Align with guide lines and adjust gaps between panels as per design.
3. Securing Panels: Fasten panels to the steel structure using the correct force to avoid damage.
4. Openings for Windows/Doors: Plan for windows and doors, cutting precisely according to design plans.
5. Sealing and Insulation: Ensure tight seams to prevent leaks. For insulated walls, fill gaps with insulation material and ensure continuity.
6. Final Check: After installation, inspect all panels for secure attachment, even seams, and check for flatness and vertical alignment to meet design standards.
Roof Panel Installation
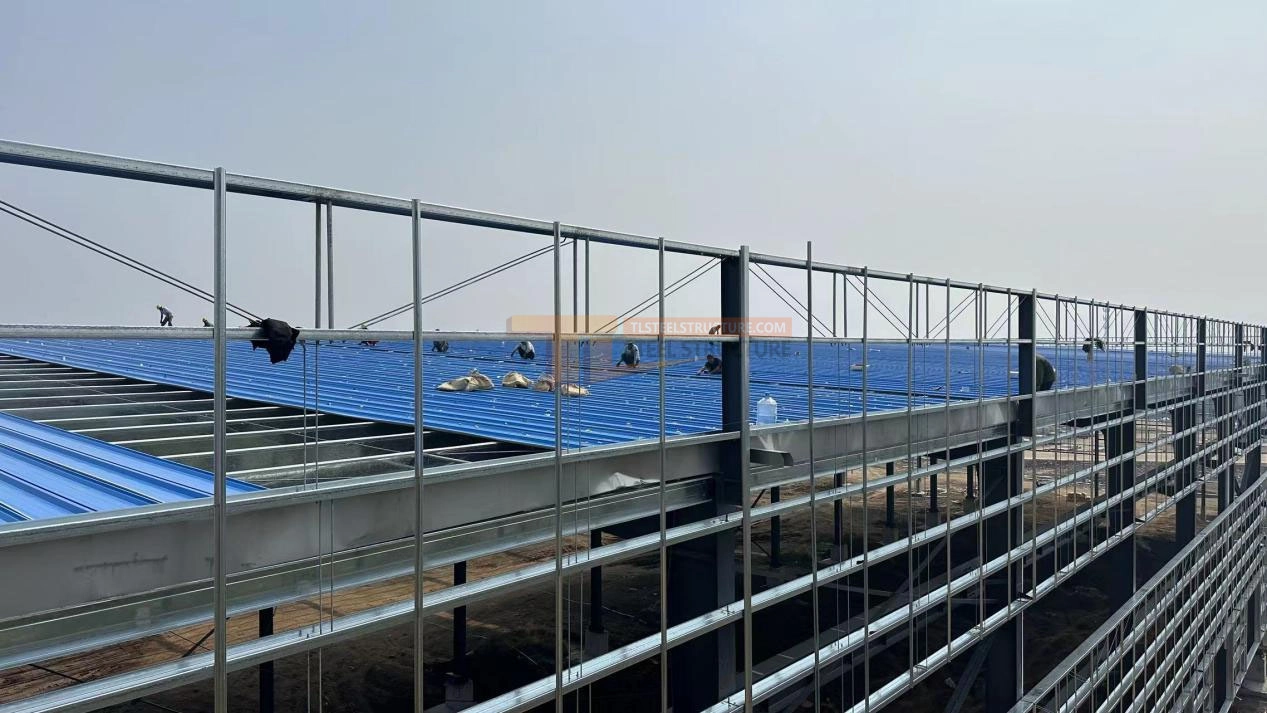
1. Preparation and Layout: After the “T” clips are in place, set a positioning line at the panel ends.
2. Positioning: Lift the panel into place, align it with the control line, and press the overlapping edge.
3. Seaming: Use an electric seaming machine to seam the edges smoothly and evenly.
4. Edge Trimming: After installation, trim the panel edges to keep them neat and tidy.
Note: Handle aluminum panels carefully to avoid bending. Store panels off the ground, and do cutting on a flat surface to protect nearby panels.
Edge Trim Installation
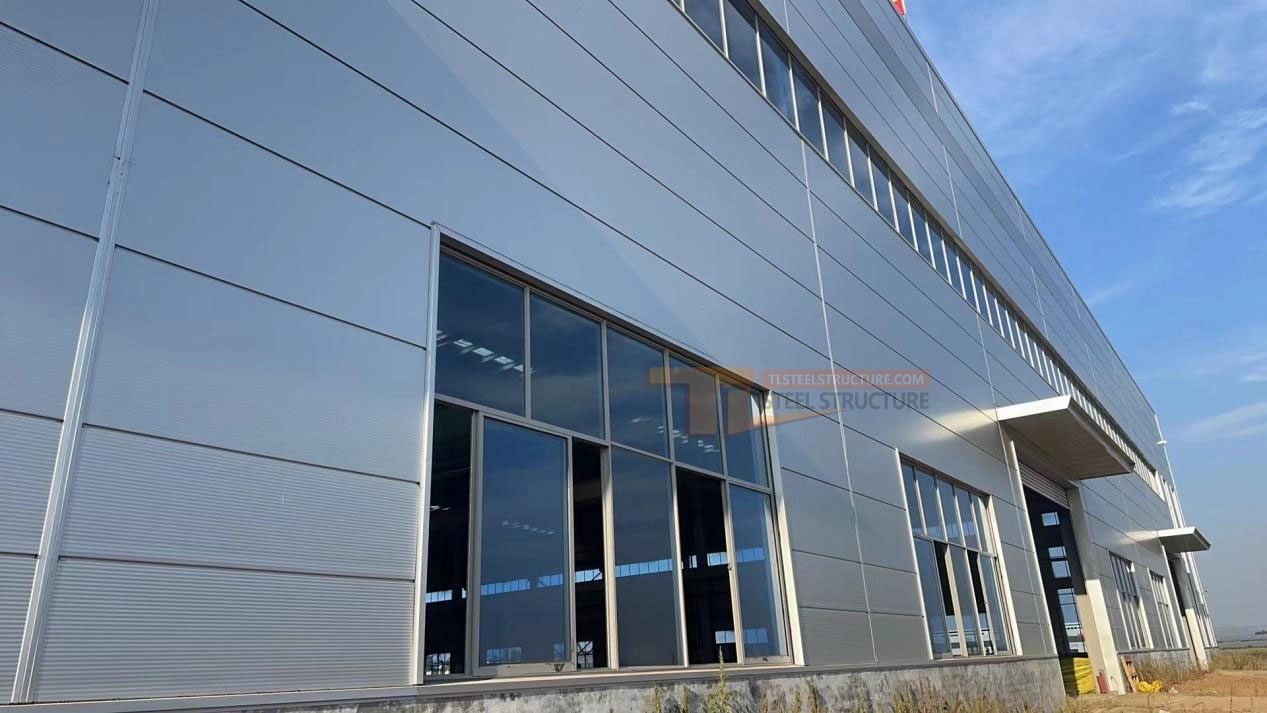
Edge trim installation is an important part of steel structure buildings. It not only adds a decorative touch but also provides waterproofing and corrosion protection.
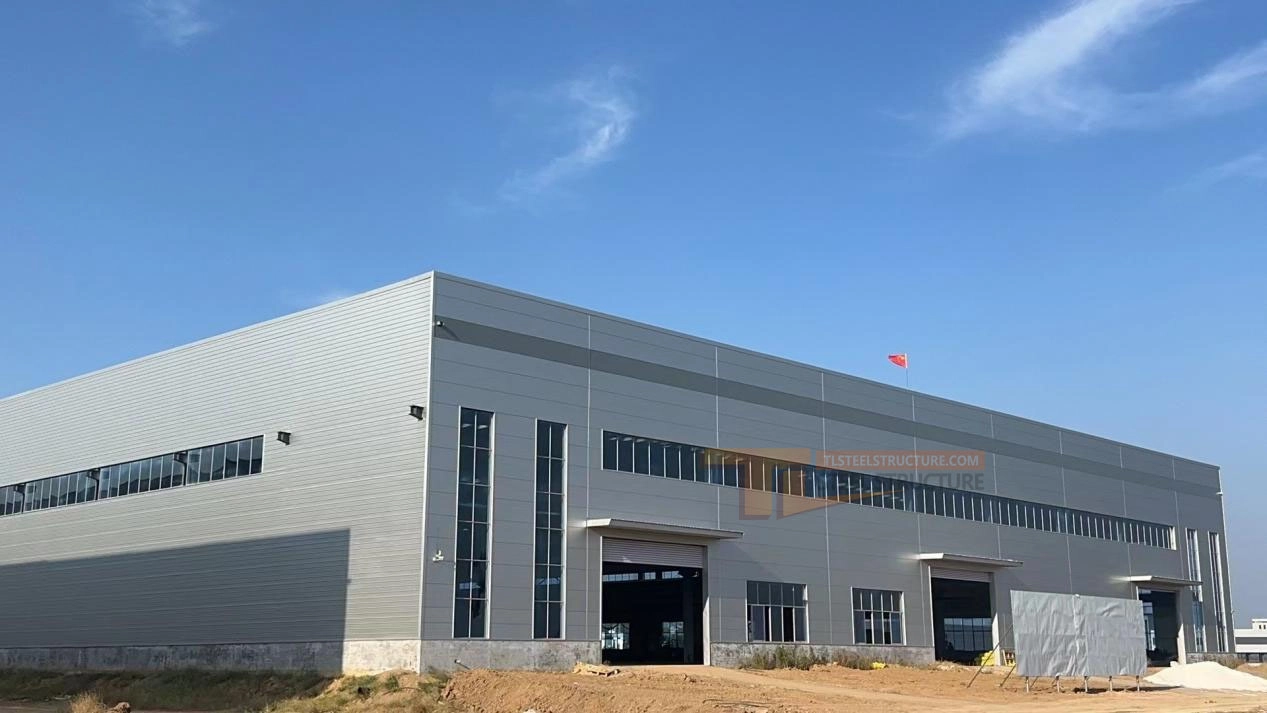
Taigang Project, 2#Workshop : One storey, total height 18.2 meters, covering an area of 21,000 square meters.

